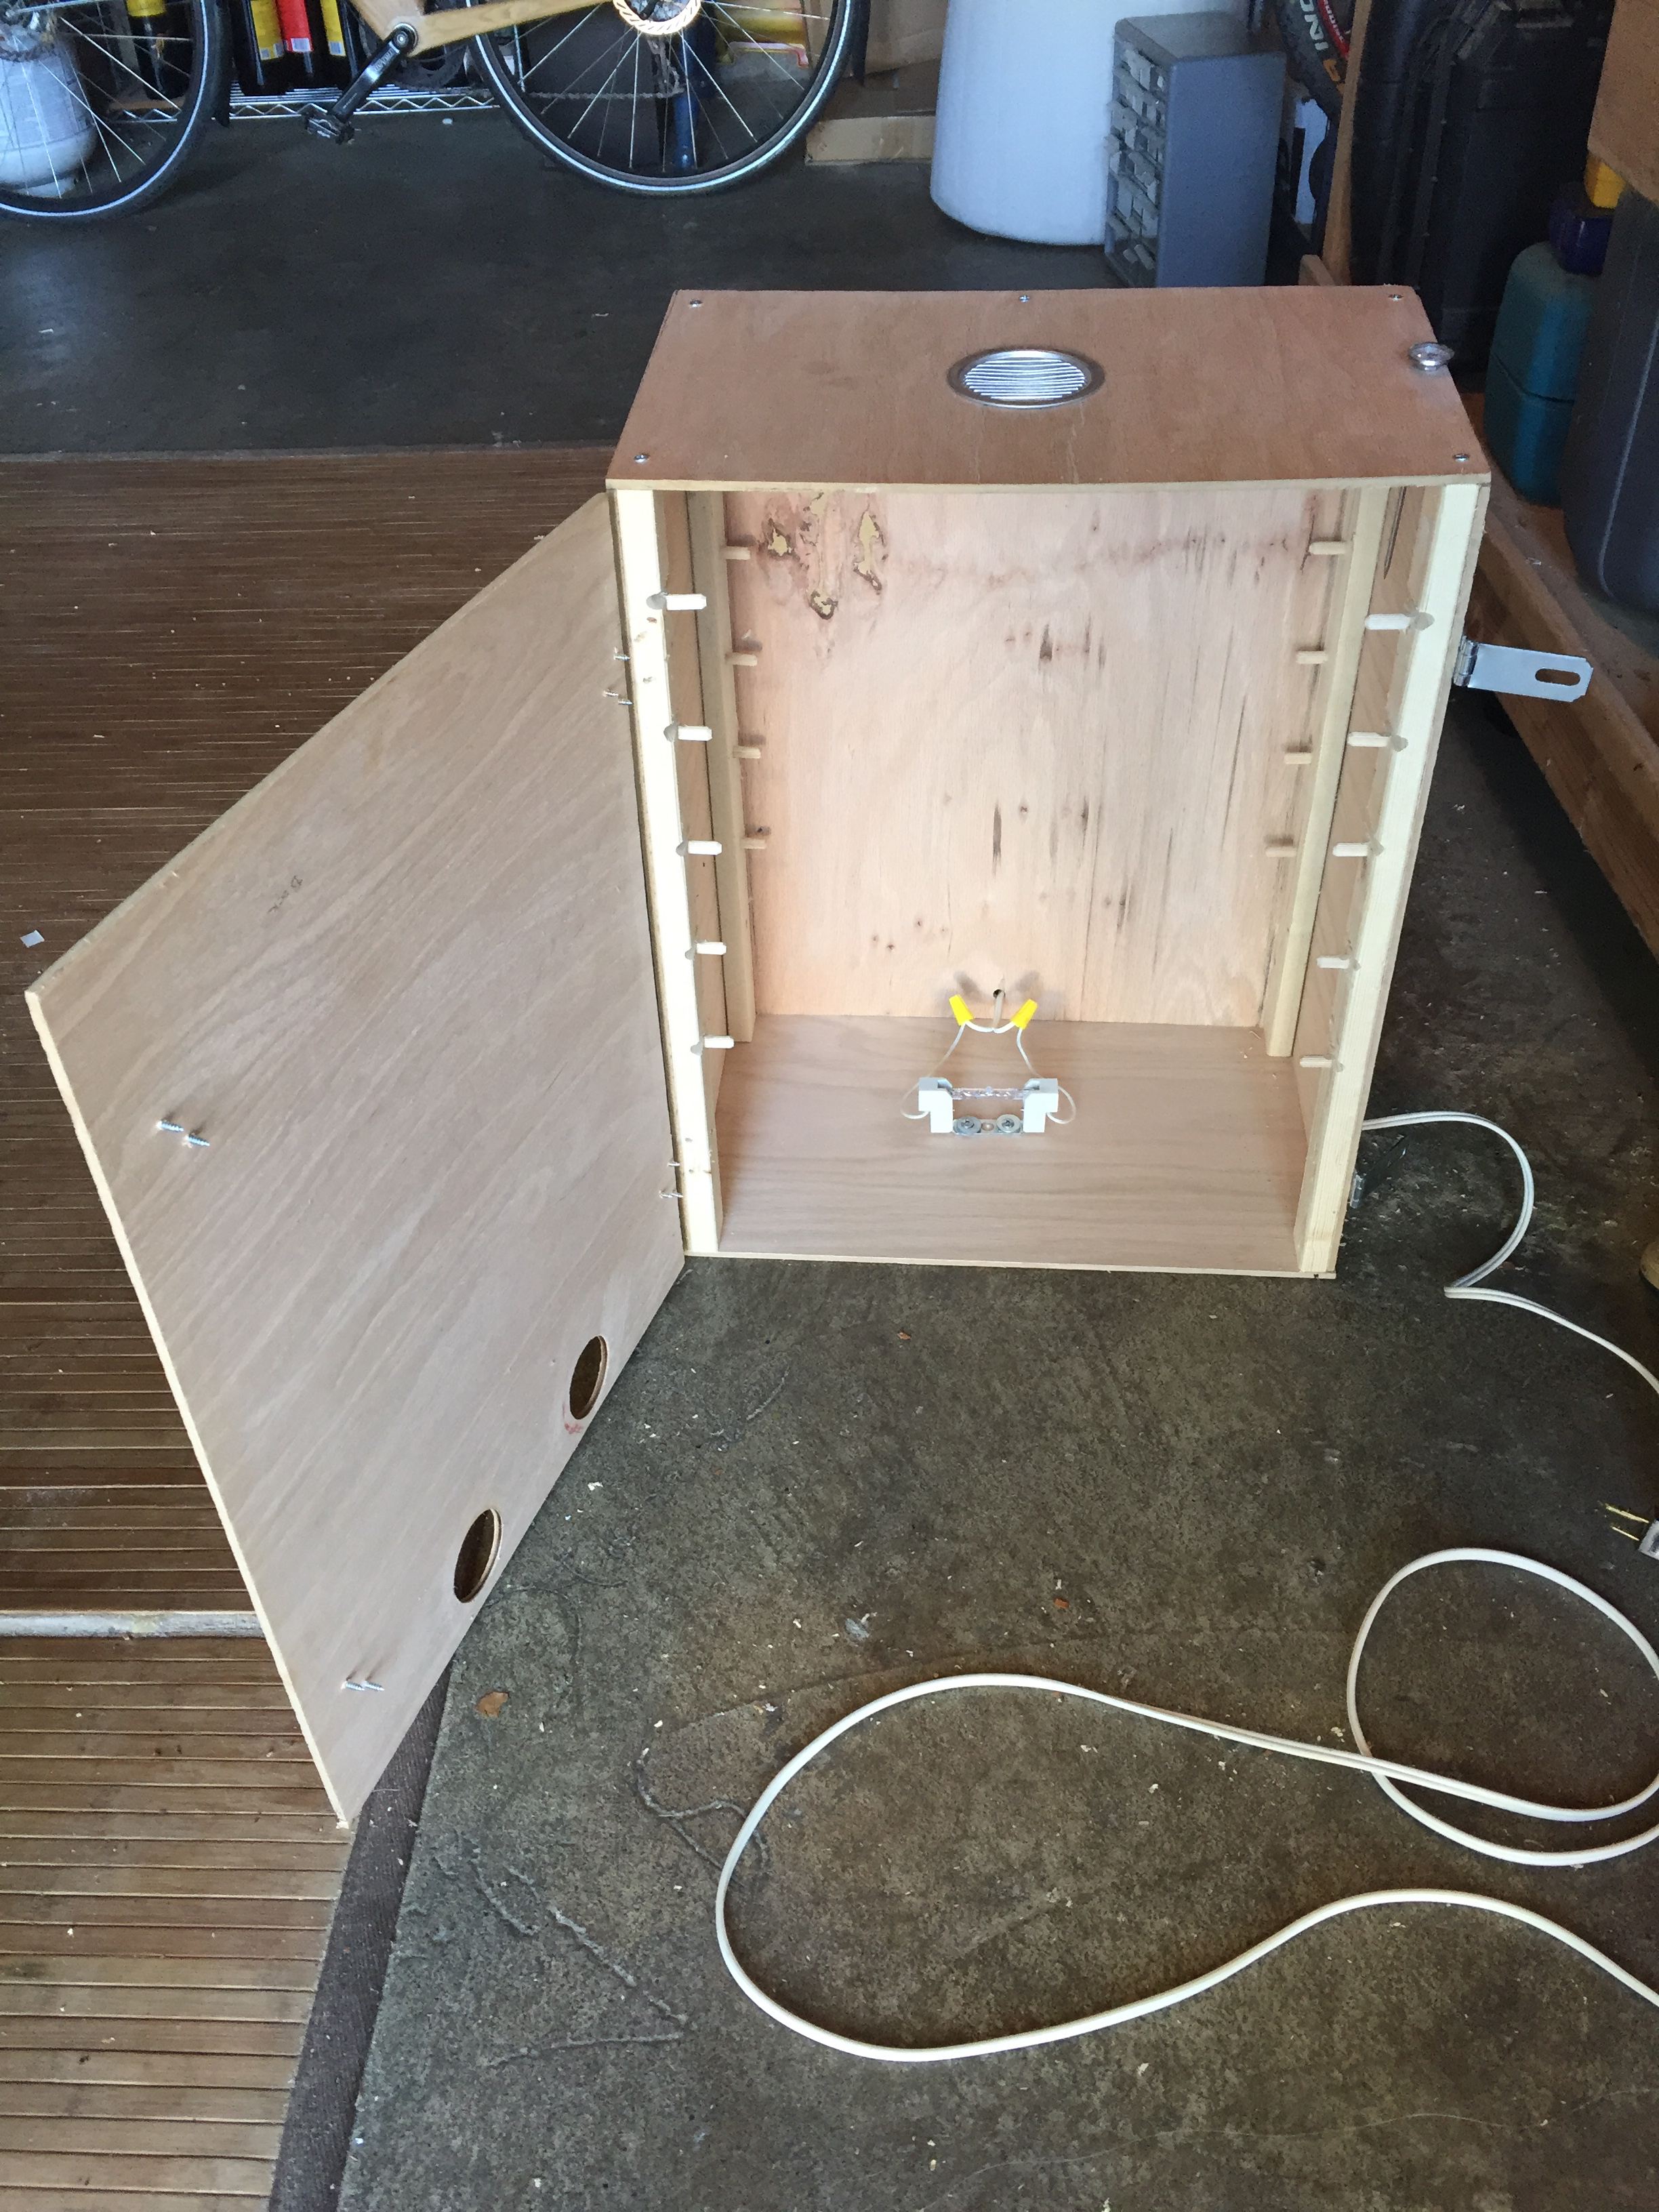
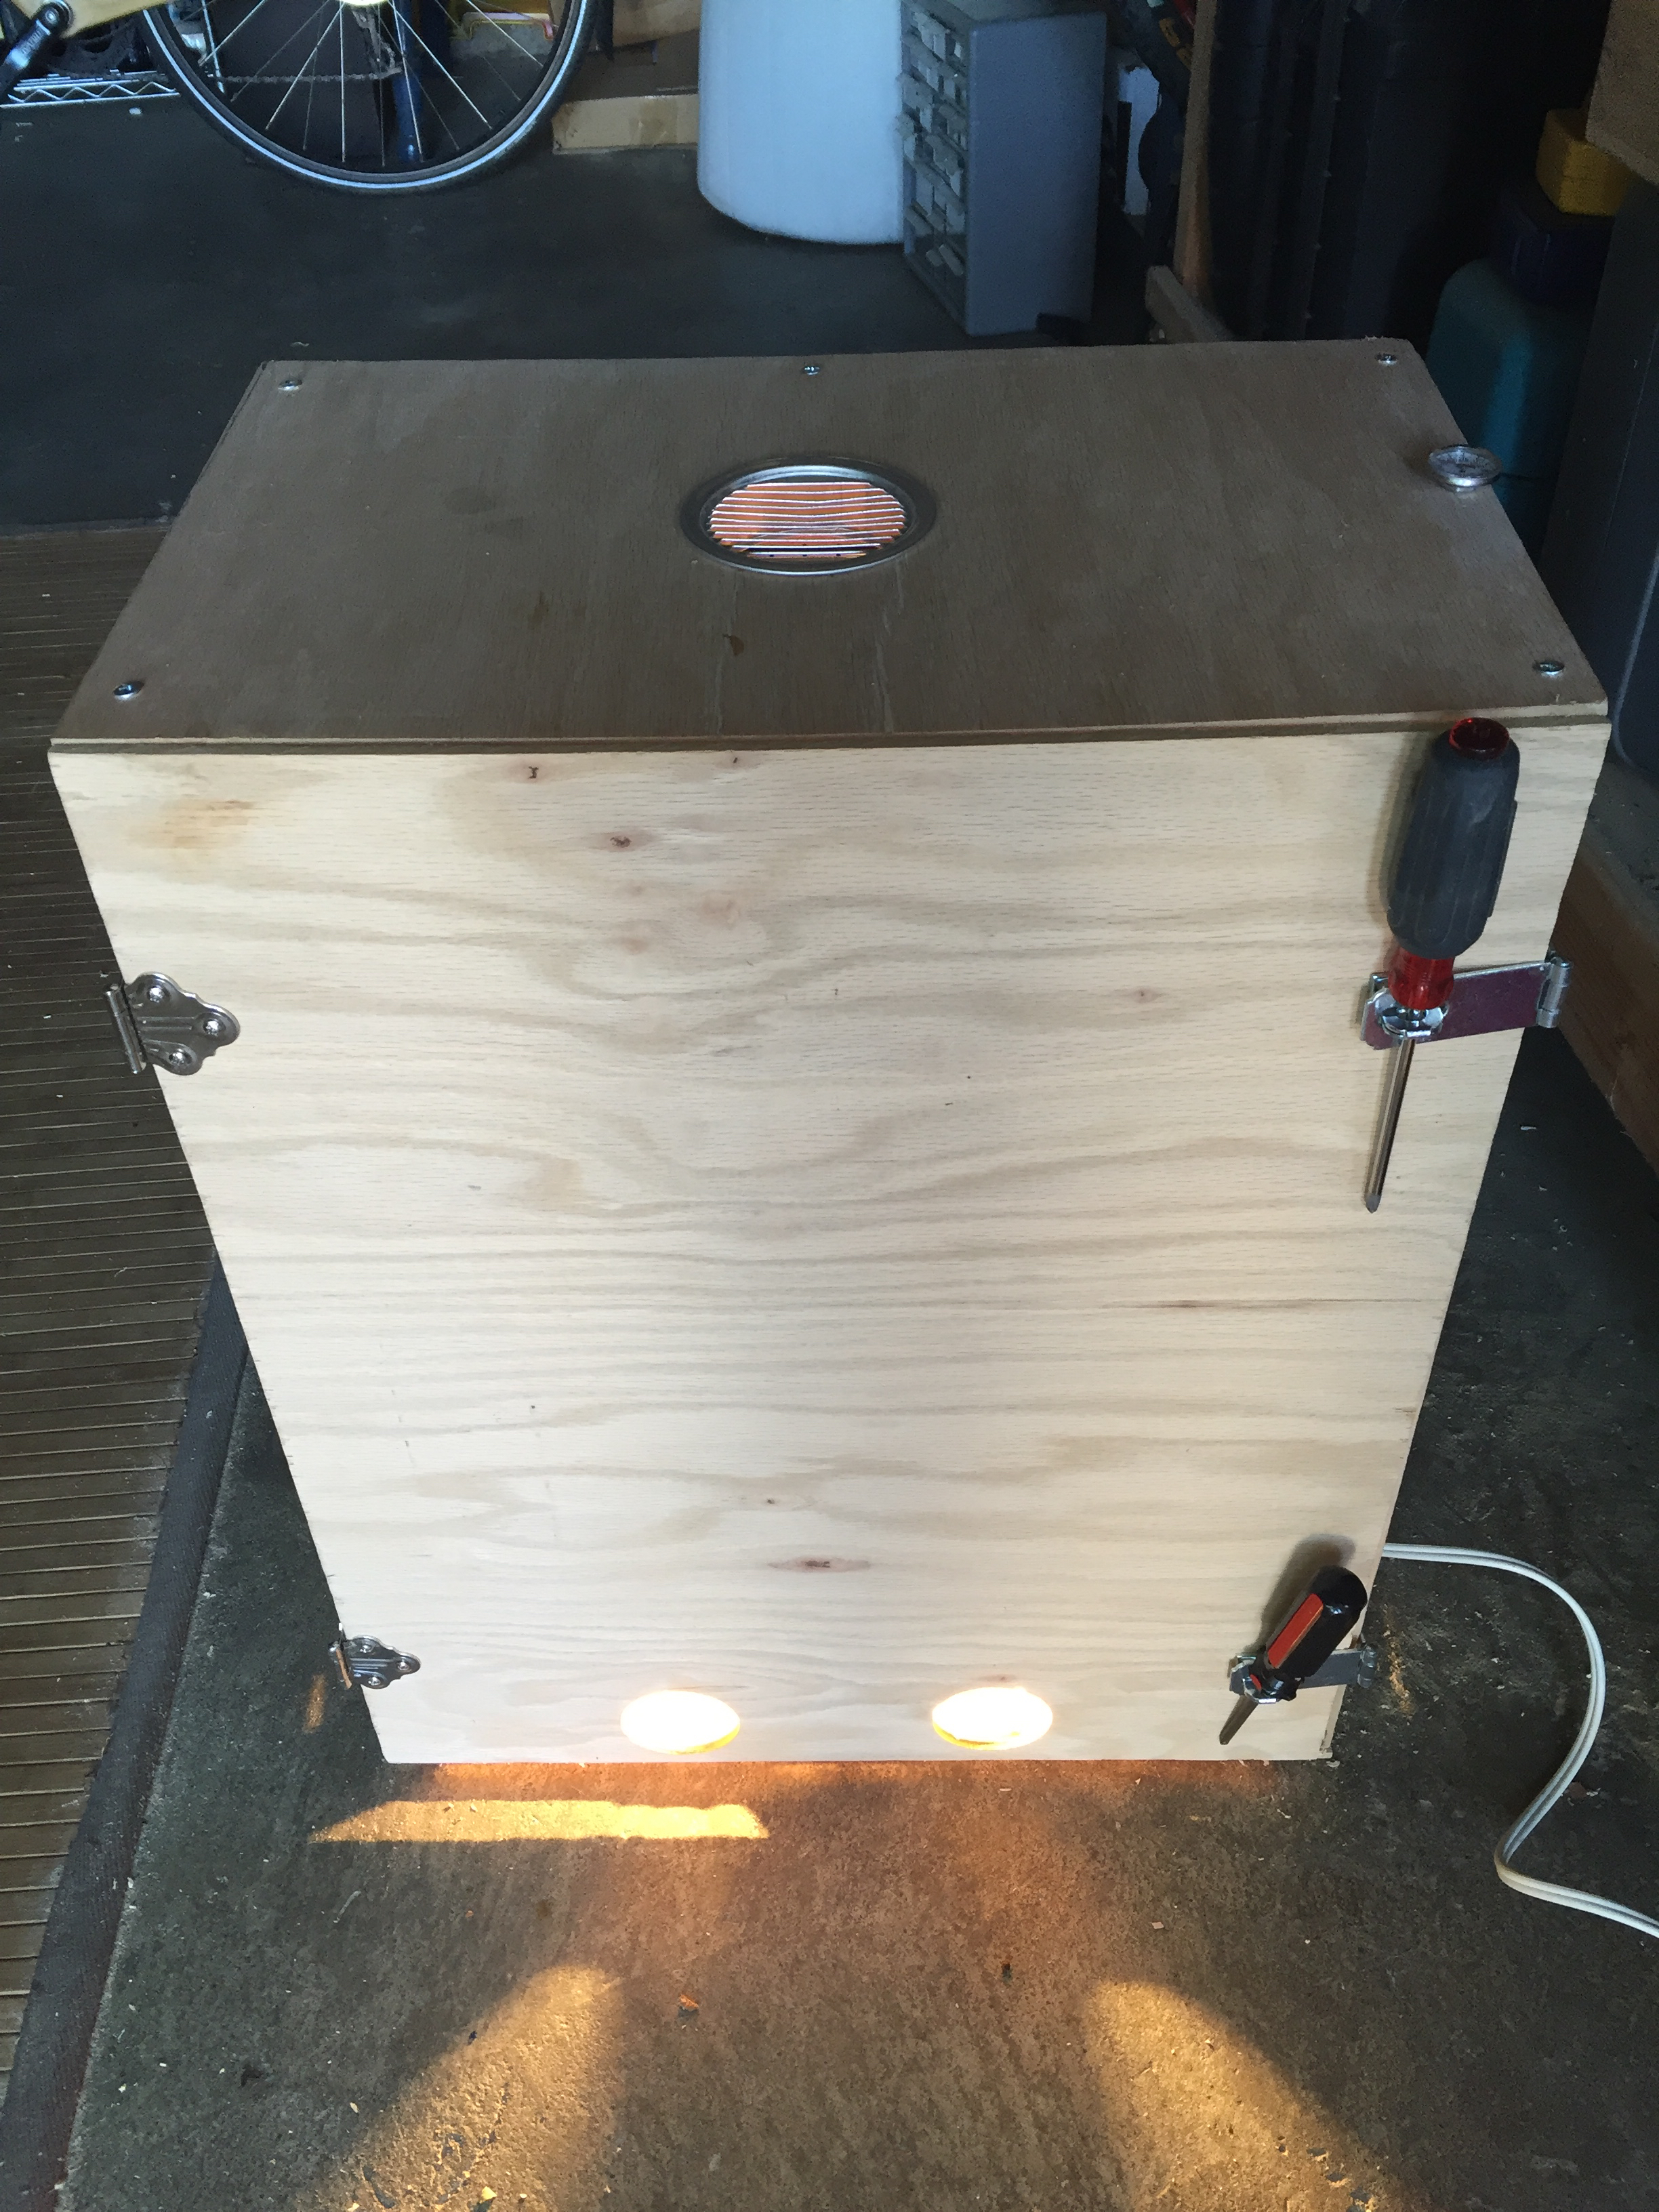
It is done! The homemade dehydrator project got put on hold for a while, but finally finished it yesterday, marinated thin-cut flank steak overnight (Alton Brown recipe) and just put them in for a 6-hour cook at 120 deg. Settled on a 200W halogen bulb (halogen is not very efficient and turns a lot of energy into heat rather than light, which is what we want for this). The build was… wonky in lots of ways – couldn’t get a friend’s words out of my head: “You know you can buy a dehydrator on amazon for like $36, right?” “But then it wouldn’t be homemade!” No idea what to expect – hoping for the best.
Update: First round of jerky was amazing. It’s going to be tough to keep it in stock.
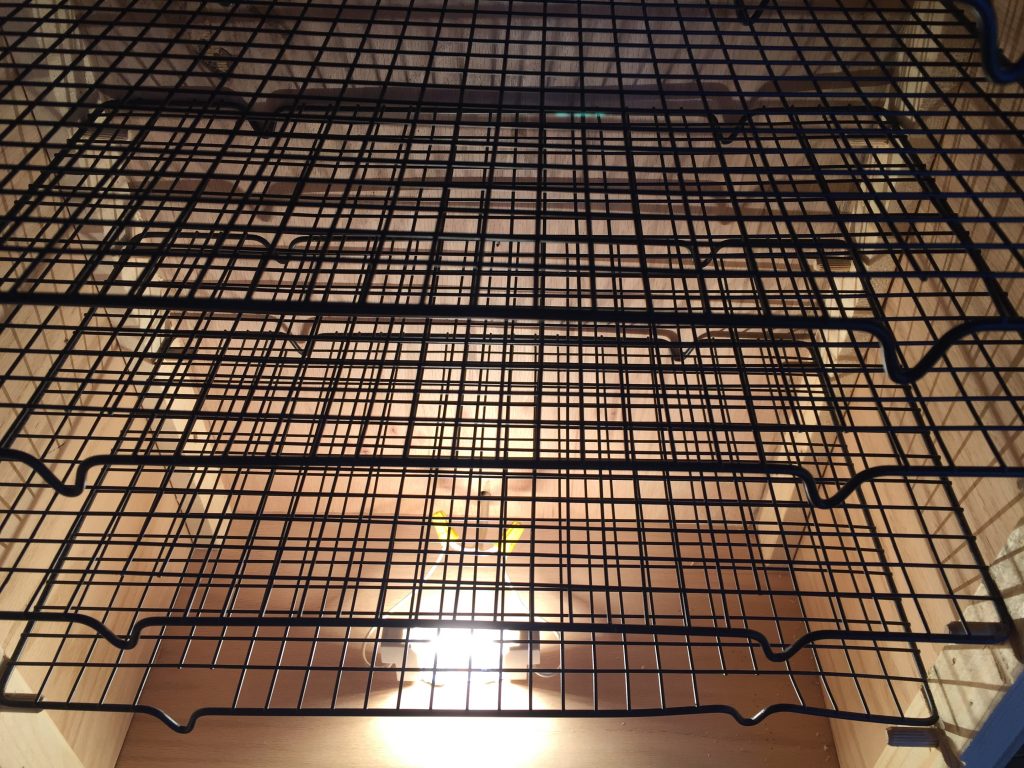
Round 2, a month later: Cinnamon apples and banana slices. This one will be a 10-hour cook.
diy.org is one of the best sites for keeping kids stimulated and engaged in the real world I’ve ever encountered. Beautifully designed and engineered, it breaks real-world maker skills into more than a hundred categories. When kids accomplish three tasks in a category, they get a virtual badge (you can purchase a real version of the badge for $5). This is the site I wish I had thought to build, dangit.
No idea what their monetization strategy is, but huge applause to the engineers and designers behind the project.
Miles (@Milezinator) is spending his Christmas break on a mad DIY badge quest (a blissful escape from Minecraft for us!).
I spent a couple of hours with my son’s fourth/fifth grade classroom today, teaching them to build LED flashlights in Altoids tins. This project was both simpler and more complicated than last year’s Bristlebots project – fewer parts to manage, but we went deeper into electrical and electronics concepts. The students learned about voltage, insulators, conductors, circuit load, diodes, polarity, and various types of switches. And had a great time! Every single kid finished with a working flashlight. Some even enjoyed the process so much they stayed after school to build a second one.
I started with this recipe from Instructables.com, but modified it a bit (we used a single LED and battery to reduce wiring and to eliminate the need for resistors, though we did talk about resistance).
One of the biggest challenges for me was figuring out how to drill clean holes in aluminum – every attempt with a punch or standard drill bit resulted in sharp, ragged, non-round holes. Finally figured out that what I needed was a “graduated” drill bit. Happily, I found one from the 1940s in a toolchest that I had inherited from my grandfather. So not only was the bit we used ~70 years old, but I later learned that my grandfather made all his own bits! He would have been proud to see us using his tools this way.
Sorry I didn’t get more photos of the process – no shots here of drilling or soldering, or of the kids playing with their finished flashlights in a dimmed room, Â but was bit busy…
Miles and I have attended Maker Faire in San Mateo every May since it started five years ago. It’s gotten huger with every passing year of course – wall to wall people, and tricky driving/parking if you don’t arrive first thing. A lot of the same themes from year to year, but always something new to feast the eyes and tease the brain. Didn’t stay as long this year, didn’t dig as deep, and didn’t get as many diggable photos as we have in the past, but still glad we went and will keep on keeping on!
Strangely, one of the best moments of the day had nothing to do with welding or LEDs or Adam Savage. It was a magical encounter with a lone man sitting at a small typewriter (yes, typewriter), selling poems. “You name the topic, you name the price.” With a friend’s 50th birthday coming up that night, I asked him to improvise on the topic of “bicycles in the city of your mind.” We carried on a conversation about French surrealist Alfred Jarry and his impact a hundred years later on the punk/new wave movement, and about how Picasso actually bought his gun after he passed, and ended with me spontaneously ejecting the sentence “This moment is a grommet through which the aglet of morning has finally emerged.” We laughed, he handed me the finished poem, and it was absolutely fantastic (sorry, I already gave it away as a gift, so can’t share it here). More at zachhouston.com.
Wonderful Amy got me a cigar box ukulele kit for Christmas… more than a year ago :)
I finally finished the build a few weeks ago (ridiculous, right?), and have been having a gas with it. Full writeup and pics over on Bucketlist, but here’s the slideshow version, as well as a little video I put together to show how the sound of a cigar box compares to the warm tones of a nice professionally built koa wood uke.
As I was told by a uke head in Hawaii at the start of last summer, “Sound is round, round is sound. What do you expect from a square box?”
The Flickr set includes captions. Here’s the video comparing sound of the cigar box to a “real” uke:
While researching ideas for the PVC pinecone catapult a while ago, Miles and I found these instructions for a blow-pipe Marshmallow Shooter. PVC is such a wonderful material to work with – cuts like butter, cheap as dirt, and all the elbows, caps, and T-joints you could possibly want are readily available at any hardware store. What’s not to love?
Today we decided to go for it. 10 feet of schedule 40 1/2″ PVC costs all of $2.50. With all the joints and fittings, total cost was a few bucks per “gun.” I put “gun” in quotes because this thing is just so darn playful, and I’m not sure it qualifies. It’s more of a “human breath marshmallow launcher.” And when the bullets are made of puffed sugar, it’s a stretch to call out the gun play metaphors.
Miles measured and marked out the segments after studying the comic above, I worked the chop-saw, and we assembled together. Total build time was less than 20 minutes. Mini-marshmallows fit cleanly into 1/2″ PVC (the snugger the better). We were completely amazed at how straight and clean these babies fly – we were able to launch them 25-30 feet and hit targets like the chimney on the roof, bus stop signs, or the sidewalk on the other side of the street with ease. They do sting slightly if you get hit at close range, but not at all through a light shirt or pants.
Miles finds his mark – Mommy gardening
They’re soft enough to be totally safe in the house, but don’t stomp ’em into the carpet or you’ll be sorry. Outside, they can probably be considered completely biodegradable.
The rails on our front porch were original from 1942. Wood had rotted out, and they were flimsy and unsafe. Not to mention ugly. A few weekends ago, finally decided to rip them out and rebuild. Miles and I went after them with crowbar and saws and they were gone in 15 minutes flat. Took three weekends to rebuild completely.
Good amount of time wire brushing, sanding, puttying, sanding again, and painting. New 2x4s and vertical 4×4, this time with supporting L-brackets, and the new wood was solid as a rock. More puttying and painting (we were lucky to find paint that matched the old paint exactly).
We had seen porch rails made of stainless steel cable on a house in the neighborhood, and were going to buy their system, when we realized how expensive their connectors were. Would have cost nearly $900 in parts to do the whole project! Recalibrated and decided to DIY it with stainless cable and annules from Ace Hardware, combined with a pile of turnbuckles I had inherited from the J-School years ago – they had been used to hang one of Ken Light‘s photo installations.
Installation went pretty smoothly once I got into the rhythm of it. Install eyehook, attach one end of turnbuckle, create cable loop with annule on other end of turnbuckle, measure cable length by eyeball and attach eyehook to other end with another annule. Three hours later I was done (except for one eyehook, which hit a rotted portion of the vertical we hadn’t replaced (because it’s part of the porch structure).
Not perfect, but close enough for jazz, and spent less than $150 in parts for the whole job.
Miles and I spent Saturday building a PVC catapult for hucking pinecones. Started with inspiration from some YouTube videos, but scaled up and modified designs we found there. Capable of throwing a pine cone around 45 feet with a single bungie! Spent around $25 on parts. Build time ~3 hours. Considering adding a second bungie for extra distance, but don’t want to make it too strenuous for the kiddos.
Working with PVC is great – cuts like butter with a chopsaw, pieces slip together like Legos. In fact, the fit is snug enough that we’re not gluing it for now -nice to be able to disassemble for storage.
Finding the perfect throwing cup was the biggest challenge. Considered sewer pipe caps, chopped down paint mixing buckets, and tupperware, before deciding on this perfectly sized electrical junction box. Unfortunately it had a metal plate riveted to the back, which I had to hacksaw off – easily the hardest part of the build.
See full-size images and captions at the Flickr set (captions not available in embedded slideshow).
Shot some video too, but did that dumb thing where you record when you think you’re paused and pause when you think you’re recording. D’oh! Will try the video again later.
Catapult is available for rental for birthday parties and bar mitzvahs.
Crazy how things come together. Birdhouse user and cell phone haiku proprietor Dylan Tweney is an editor for Wired Magazine. He’s also a dad and a contributor to Wired’s Geekdad blog. Wired recently started collaborating with PBS on an interesting TV show called Wired Science. Recent J-School graduate Sasa Woodruff just spent a season as a researcher for Wired Science, helping to select and assemble pieces for the series. Sasa was also Miles’ babysitter last year (being a J-School dad means access to an endless supply of interesting babysitters!).
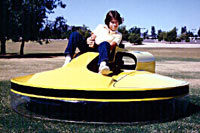
Thanks to the Geekdad connection, Dylan recently did a segment for Wired Science on building a hovercraft in the comfort of your own living room, with his daughter Clara as helper and co-star. Which means Miles recently got to watch his once-or-twice playmate building a UFO on HDTV.
Over the past couple of months, Miles and I have been toiling in the garage in the evenings after dinner, working on simple construction projects. He’s getting his first opportunities to work the vice, pull the trigger on the electric drill (which I hold), run an orbital sander, help with the hole saw, screw screws, hammer nails, etc. His favorite tool, unsurprisingly, is the vice. At one point I was tweaking on the teensy hinge screws and looked over to find him cranking down on a tube of Gorilla Glue – had the thing torqued to the breaking point. Another half turn and it would have blown sky high. Which at first sounds like a total mess, but on further thought would have been an absolute disaster – glue in his hair, possibly his eyes, him rubbing his hands all over the place to get it off, making everything worse. He put so much work into this little house. Honestly, it doesn’t get used that much, but the process was wonderful for both of us.


 Crazy how things come together.