A couple months ago, upgraded my wife’s old Mac Mini to a 13″ MacBook Air with SSD, and was stunned at how it blew my 3-yr-old MacBook Pro out of the water, performance-wise. Having 8GB rather than 4GB was part of it, but the real clincher was the fact that it shipped with an SSD drive rather spinning platters. I had read about the huge performance gains that solid state gets you, but was unprepared for just how great it feels to work in all-RAM environment. No more waiting 45 seconds for Photoshop to launch (four seconds, anyone?). No more feeling the crunch as you’re trying to start that Skype conference while both Backblaze and Spotlight indexing are competing for swap space.
Of course, my masculinity was gravely threatened by all of this. Cuckolded by a laptop!
Kidding, but began to wonder what it would take to replace my internal drive with an SSD. The wizard at Crucial led me to a 256GB SSD that was guaranteed compatible. Threw 8GB of RAM into the basket as well, and parts were on my doorstep two days later.
Found MacLife’s excellent guide to the upgrade process. In a nutshell, you’ll need:
- A tiny Phillips screwdriver
- A tiny Allan wrench (maybe)
- Carbon Copy Cloner (CCC)
- A separate external USB or FireWire drive
- That’s it!
CCC is no longer donation-ware — it now costs $40. But it’s well worth it, even if you only use it for this one task. However, there is a 30-day free trial that’ll get you through the upgrade for free, if you swing that way.
The process is basically:
- Use CCC to clone your internal HDD to the external drive (this took several hours)
- Shut down, open the Macbook, replace the HDD and memory
- Boot from the external drive (hold down Opt during boot and select the external drive)
- Launch CCC and clone from the external drive to the new internal drive. During the process, you’ll be prompted to also create a hidden recovery partition (these are never visible, but are a life-saver in this age of buying operating systems without physical media)
That’s really all there is to it! Here’s a shot of my 10-yr-old son helping with the installation of the SSD.
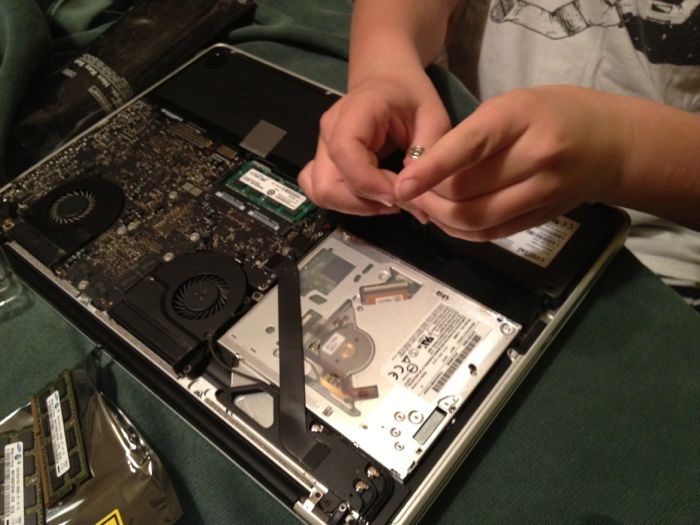
The one gotcha in the process (for me) was that you need to move the four support screws from the old drive to the new. These serve no function other than to let the drive rest on the screws horizontally – they don’t actually hold anything together. But without them, the drive would rest on the aluminum floor of the case, which wouldn’t be good. Unfortunately, mine were Allan screws, not Phillips, and I didn’t think I had an Allan wrench small enough. But thinking back, remembered that a Craftsman ratchet set I owned had come with a bag of loose Allan wrenches. Hauled it out of the garage, and sure enough, it included a truly tiny one, just right for the job.
Once the re-clone process had completed, shut down, unplugged the external, and rebooted. Everything was lightning fast – booting, launching Photoshop, starting Python virtualenvs, upgrading the iPhoto library… it’s like the machine is running at the speed of thought. I’m not talking about marginal improvments here – I mean everything is 3-4x faster than it was a few hours ago. Really, it’s like getting a brand new Mac for a couple hundred bucks.
Run, don’t walk to this upgrade. SSD is the future, and the future is now.
I totally get that feeling of “masculinity threatened” by a faster laptop! It’s amazing how a simple SSD can breathe life into an old machine. I remember being stuck on the exact same thing you mentioned—those four support screws. I almost stripped one because I didn’t have the right Allan wrench handy, and it’s those little hardware “gotchas” that always turn a 20-minute job into a full afternoon.
Once you get that “speed of thought” performance, you really start noticing the other bottlenecks in your setup. After I did a similar SSD swap on my older workstation, I realized my internal network was the next hurdle. Since the drive could finally handle data faster than my old Wi-Fi, I ended up installing a 4-port network adapter https://serverorbit.com/network-devices/network-adapter/4-port-en to aggregate the links to my NAS. It’s funny how one upgrade leads to another once you realize what the hardware is actually capable of when it’s not waiting on spinning platters.
Do you think you’ll eventually hit a wall with the CPU on that Mac, or do you feel like this SSD/RAM combo bought you another 3-4 years of solid use?
Wow! This is a blast from the past. I wrote that back in 2012, and have been through multiple Macs since then. SSD is no longer a revelation – just standard issue now. And I haven’t really opened a Mac for a very long time now.